.NET MAUI with .NET CLI (Command Line Interface)
This article describes how to develop a .NET MAUI app with the .NET CLI (Command Line Interface).
.NET Multi-platform App UI (.NET MAUI) is a cross-platform framework for creating native mobile and desktop apps with C# and XAML that can run on Android, iOS, macOS, and Windows from a single shared code-base.
1. Install .NET SDK.
https://dotnet.microsoft.com/en-us/download
2. Install .NET MAUI workload with the dotnet CLI. A .NET "workload" is a collection of packs. Launch a command prompt and enter the following:
dotnet workload install maui
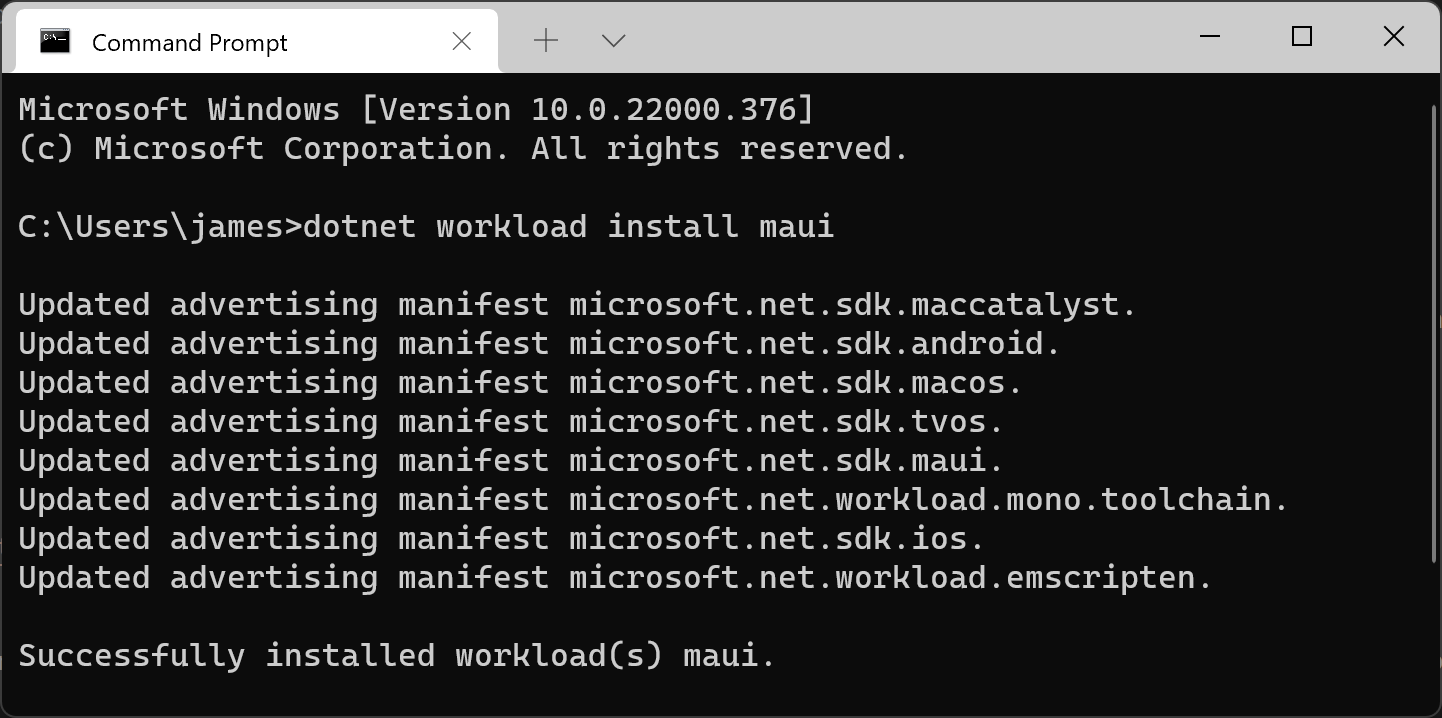
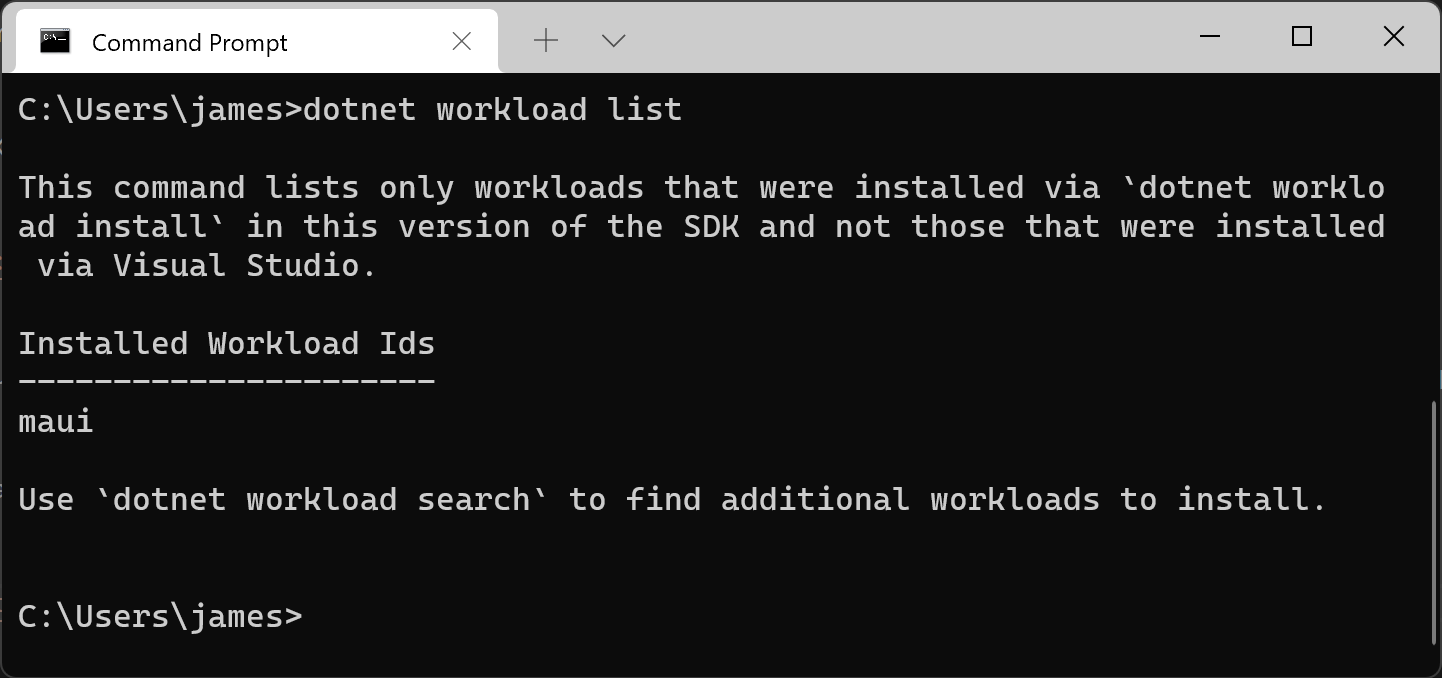
Check that the MAUI workload installs successfully.
dotnet workload list
3. Verify and install missing components with maui-check command line utility.
dotnet tool install -g redth.net.MAUI.check
maui-check
4. Create a new folder and a new MAUI app.
mkdir MyMauiApp
cd MyMauiApp
dotnet new maui
5. The "dotnet new maui" command generates a template for a .NET MAUI app with all the necessary project, C#, and XAML files. You can use any editor such as Notepad or Visual Studio Code to edit the files.
If you are using Visual Studio Code, enter the following command in the Command Prompt to view the source code generated in the "MauiQRCodeApp" folder.
code .
6. Start an Android Emulator with the following command:
"C:\Program Files (x86)\Android\android-sdk\emulator\emulator.EXE" -no-boot-anim -avd pixel_5_-_api_30 -prop monodroid.avdname=pixel_5_-_api_30
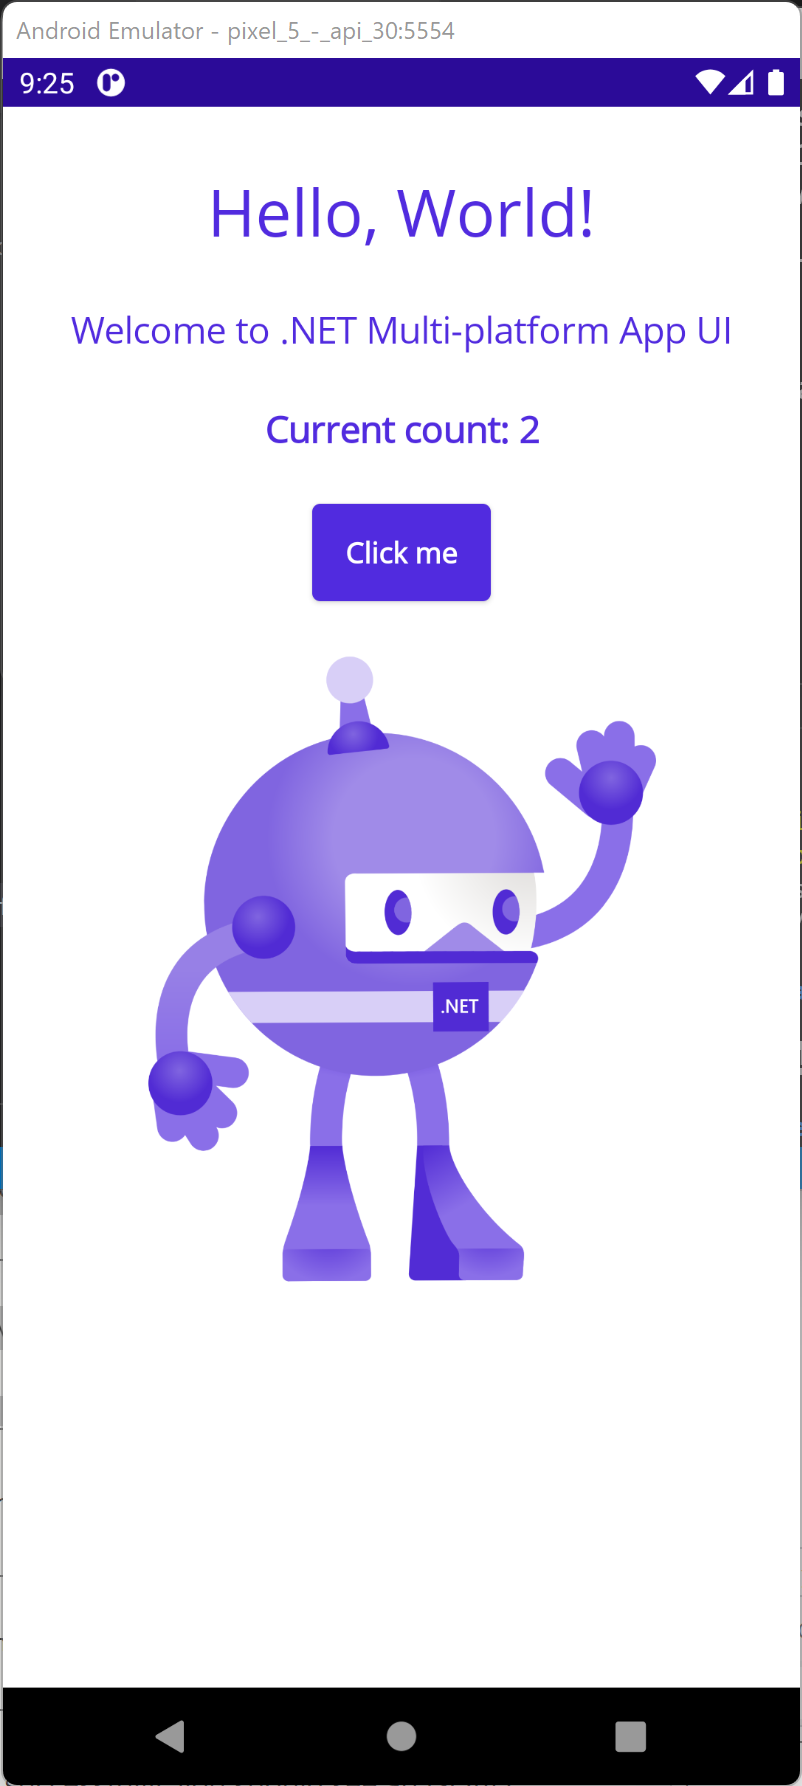
7. Run the MAUI app in an Android Simulator.
dotnet build -t:Run -f net6.0-android